
 +86-0755-86131192
 2025-09-09
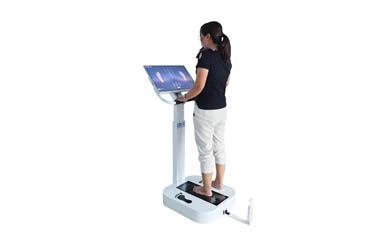
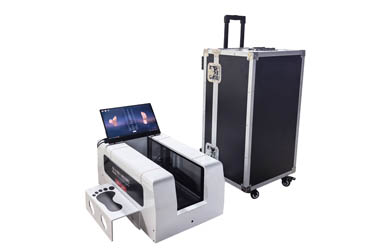
As a core device for modern foot measurement and personalized customization, the 3D foot scanner is widely used in custom footwear manufacturing, foot health assessment, sports rehabilitation, and smart retail. To fully leverage the performance of the equipment and ensure the accuracy and stability of measurement data, mastering the correct usage method is crucial.
This article uses the 3D foot scanner produced by Jingyixun Technology as an example to provide a detailed explanation of the complete operating process from device preparation to data output, helping users quickly get started and work efficiently.
I. Pre-Operation Preparation
Environmental Check
Ensure that the scanning area has even lighting, avoiding direct sunlight or backlight interference;
The ground should be flat, with the device placed stably and without any obstructions around;
It is recommended to maintain room temperature between 15°C and 30°C to avoid high temperatures or humid environments affecting electronic components.

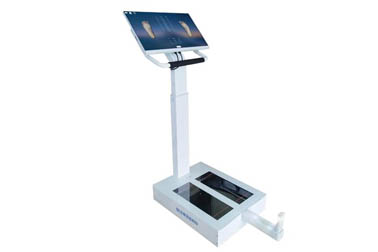
Device Connection and Startup
Correctly connect the scanner host, power adapter, and USB data cable;
Connect to power (it is recommended to use an uninterruptible power supply), turn on the device switch;
Start the accompanying computer, install and run the FeetScan® foot analysis software (supports Windows 7/10/11 64-bit systems);
Connect the device via USB or network, confirm that the software interface displays "Device Connected".
Calibration of Equipment (First Use or After Long Inactivity)
Open the "Device Calibration" function in the software;
Place the standard calibration block in the scanning area and follow the prompts to complete automatic calibration;
After calibration, the system will prompt "Calibration Successful," then you can proceed with formal measurement.
II. Scanning Procedure
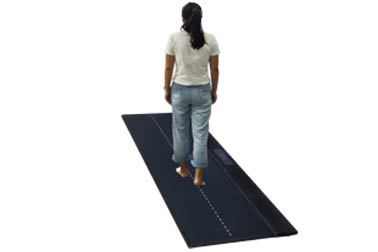
Guide User Preparation
Ask the subject to remove shoes and socks, or wear thin cotton socks (some devices support sock scanning);
Ensure the feet are clean and dry, without water stains or oil residues;
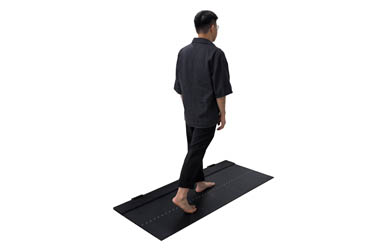
Remind the subject to stand relaxed with weight evenly distributed on both feet.
Foot Positioning
Open the "Start Measurement" interface in the software and select left or right foot;
Guide the subject to place their foot steadily into the scanning area, heel against the positioning stopper, toes naturally extended;
Observe the preview window in the software to ensure the entire foot is within the scanning range without obstruction.
Initiate Scan
Click the "Start Scan" button; the device automatically emits safe laser lines;
The scanning process takes about 8-10 seconds, during which the subject must remain still;
After scanning is completed, the software will automatically prompt "Data Collection Successful" and generate point cloud data.
Prev: Common Operating Procedures of Foot 3D Scanners in Hospital Podiatry Clinic Next:3D Foot Scanner High-Precision 3D Modeling
 Back to list


 +86-0755-86131192